New Work For November
From
Matsu Kaze Woodworking
Aloha everyone. Much going on in around the shop and Hilo town lately.
I completed another Isho yaro, a single section tansu this month.
It measures 17x34x36.
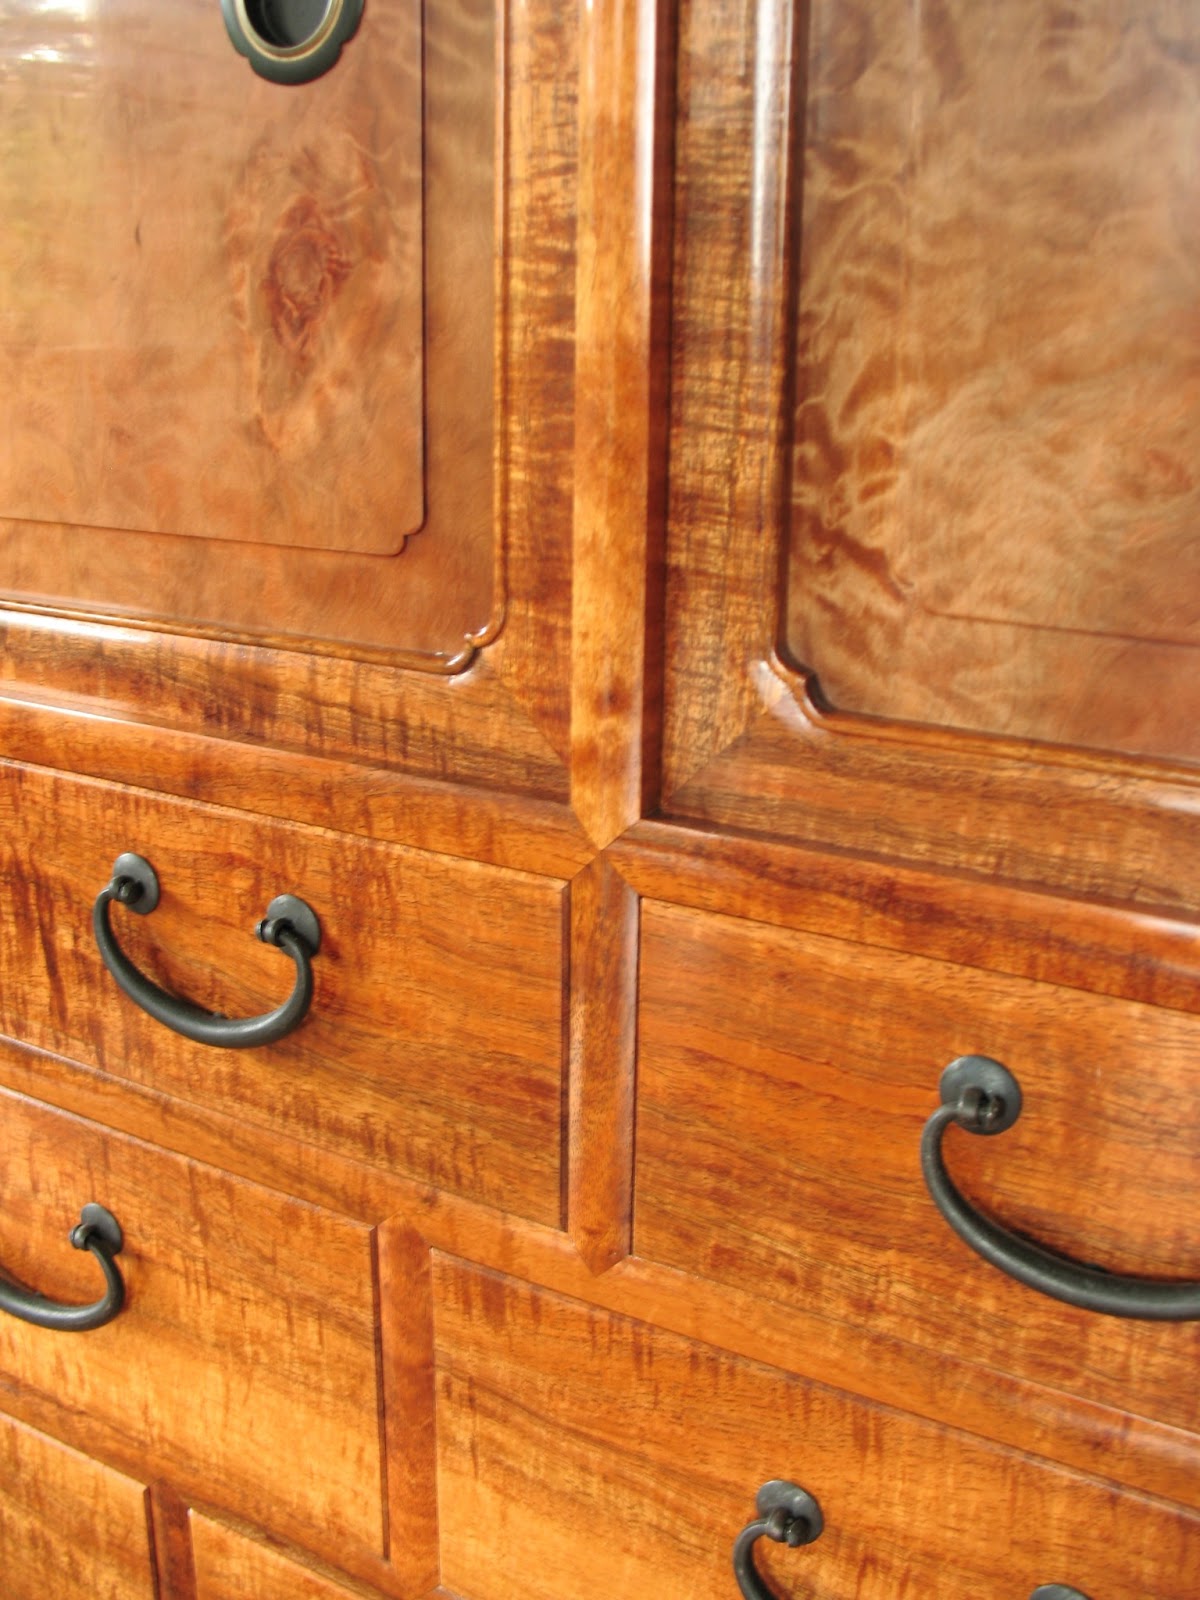
It is made of some exceptionally nice flat sawn koa. Most of the koa milled in Hawaii is quarter sawn. Quartering, will give you the best chance of catching a glimmer of curl figure. A little bit of curl isn't worth losing the some of the gorgeous swirling figure that a flat sawn koa board can exhibit.
I flat saw a large portion of the logs I bring in. This particular tree was pretty lively in figure. The flatsawn faces are filled with circular swirls and little babbles. The top drawer has a splash of little bird's eye that looks like the Milky Way,

and then as you can see, the whole piece has a ruffled golden crushed velvet look.
THIS is GREAT Wood!
It features antique hand forged warabite hardware on the front. I am guessing that they were pre Meiji. Making them about 150 years old or so, beautiful Edo era hand work.
Here they are restored, in place.

They are really sweet. You can see the hammer trace and they have a nice shape to them. They are bit wider than tall with a long slow curve at the bottom.
I fabricated the straps and oil blackened the handles. The back plates are newer, from Japan.
The Kendon buta, a lift out door, or drop fit door, to your choosing, is of a fancy design.
I added the bead detail to the inside edge which I had not seen on any tansu before with this
particular frame cut out. I think it came out nice.

The pull on the door is made from iron and deer antler donated by an axis deer from Lanai. I've made a few of these, this one came out pretty good. I like the door panel alot. It's flatsawn curl ( not common). It was a bit of stress curl at the end of an otherwise ugly duck of a board. I had spotted it in the flitch early on and saved it aside for this purpose.
Here's peek behind the curly door......

Another two small drawers with contrasting hardware in the Hirute style.
Sometimes, as is the case here, I configure the kendon buta with a secret catch .
You can see it operate here.....
So far in the pics I hope you can see the deep inner golden glow Koa has to offer. This is , to me, the uniqueness of the material. Some woods come close, but the gold, only with koa.
The base in the next pic, is mortise and tenoned together, all from the same tree as the cabinet.

I enjoy how the light changes the feel of the cabinet throughout the day.
It's bright, shimmers gold in the morning sun, and mellows with the soft afternoon ambient light.

The finish is a hand rubbed blonde shellac polish. It gives it a very vintage look. The whole piece feels very endearing, handsome, analog, heirloom-esque. You can tell at once it is hand crafted with much attention to detail. It feels old but is clearly new. Like a fresh antique.

If your still reading on I will show some process pics now.
Hmmm... let's go way back. Here we have the log cut to boards. Now washed, just before being stickered for a year. You will probably see the top of the cabinet....

I've taken to collecting wide pieces. They always look better than a glue up. Hard to compete with nature.

Here's a couple pics of shop work....
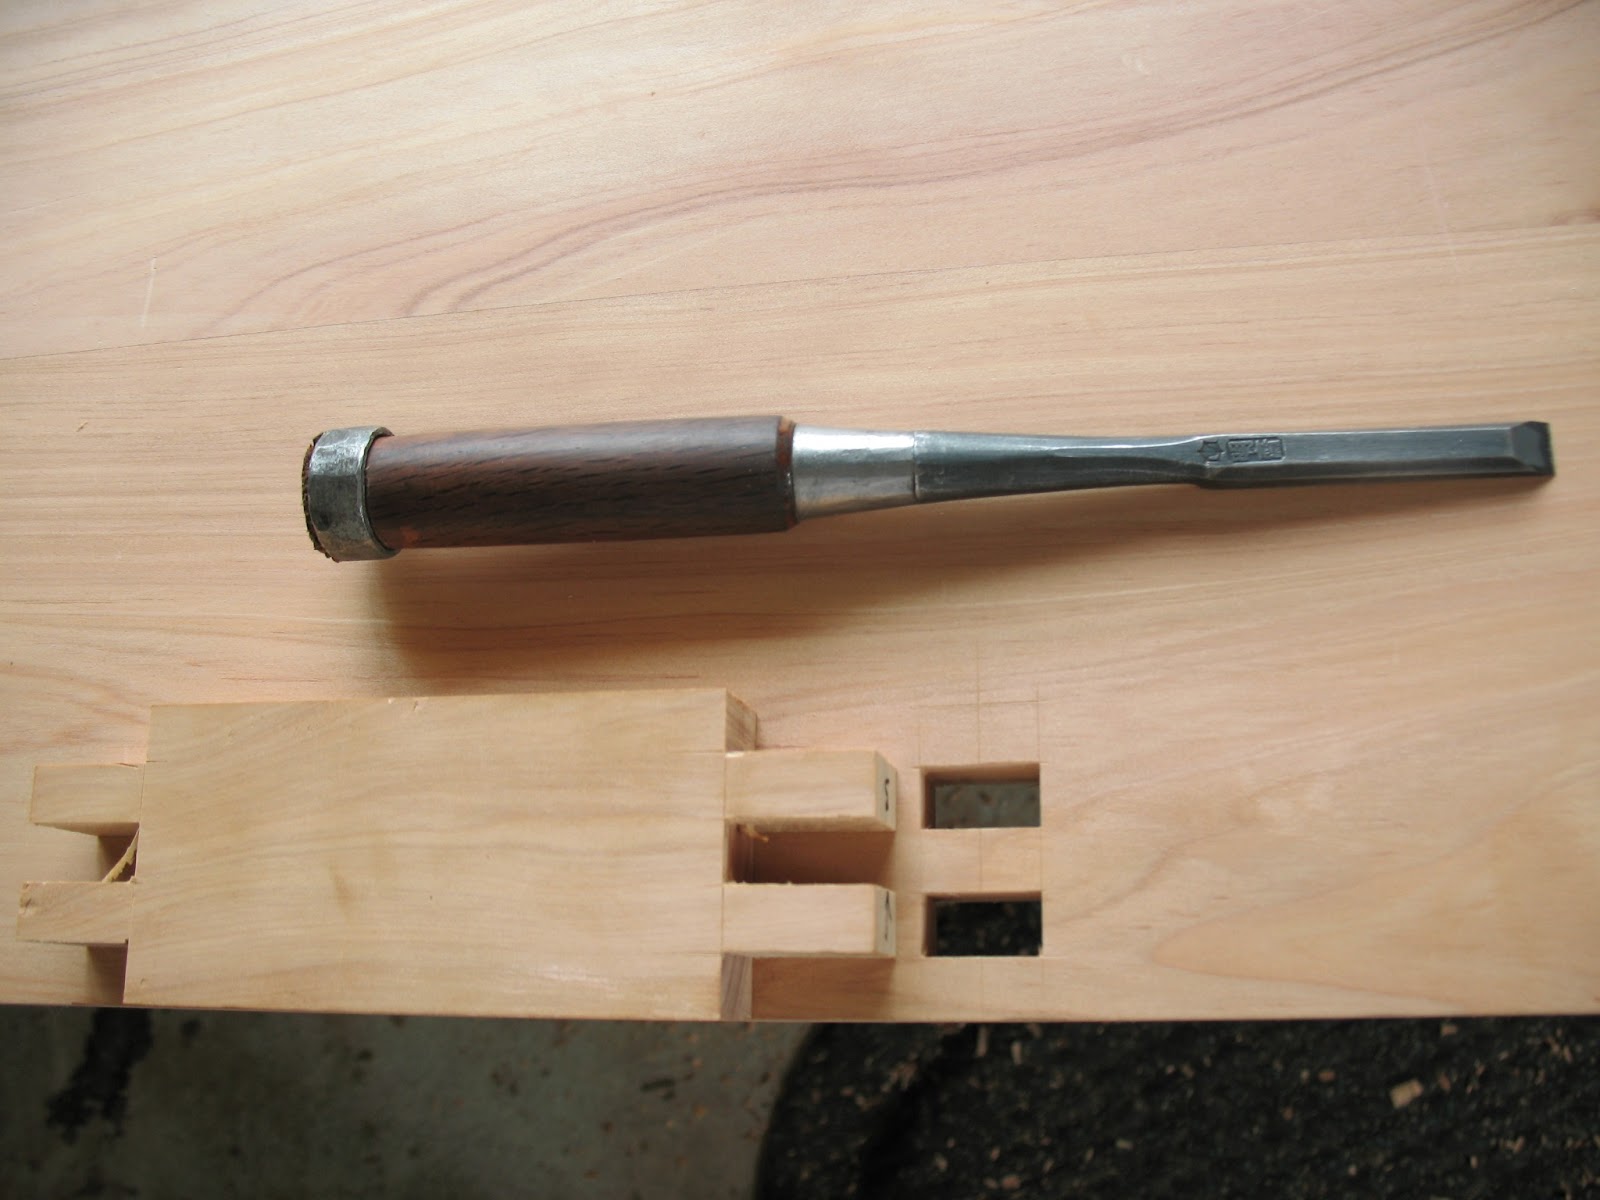
This is the corner joinery. The carcass is thru dovetailed together. But when you have an edge profile that needs a mitered corner, such as is the case here with the slight radius on the edges. The miter being a weak glue joint, I reinforce them now with a small blind dovetails. "It's what's on the inside that counts" eh?

And the female part...

Here we are , cabinet assembled, drawers fitted, and finish planed.

The silver oak is exceptional drawer material. It really should serve a higher purpose. It polishes nice, makes nice joinery, medium density, and contrasts with the Koa making the half blind dovetails pop! I hand picked 300 bft out of 2000bft just for drawer boxes. All the drawers have high lace wood figure if not wide abstract banding like old school quartersawn white oak popular on mission furnishings.

The drawer bottoms are of solid silver oak too( no plywood bottoms here!!) as well as the back of the cabinet which is frame and panel. But in these places I use flat sawn.
The outside was then finished with hand planes. Very glassy smooth in appearance. You can see reflections of machinery on the surface even without a top coat.


My little kendon buta door dry fitted together.

Here's a happen stance before and after blackening of the hardware picture. It just happened I forgot one.... ooops!

Here's the whole suite restored ...

I make the straps now. Even the best hardware I find has poor straps.
They will always need fine fitting before mounting anyway.
So now they are all forged from 1/8" round stock. That way I can harden the knuckle but leave the tangs softer for bending when mounting. They are much stouter than the over the counter variety. And they taper two ways which is the proper way anyhow.
My living room re-purposed as a finishing studio. Best light under cover of roof, so, it just has to happen. I have a very tolerant wife.

Here the cabinet sits for a week~10 days while the finish cures enough for rubbing out.
Many people do not rub out their finishes. This is really where you can correct any sheen inconsistencies and dial in the proper sheen for the piece. This isho yaro went out as a satin finish. I stopped with a 4F pumice powder.

The hardware was all installed in the same manner as covered in previous posts.
a few parting images......


Thanks for taking the time, see you again I hope.
This is new work. The Harbor Gallery in Kawaihea, Hawaii
has made this piece available exclusively thru them.
You can contact Gunner or Elli at 808-882-1510
Or go to their site Harborgallery.biz
I am starting an isho yaro. It will be a largish piece. Several drawers for clothing and personal storage.
If interested in owning it please contact me now. Available in 8 weeks-ish.
MATSU KAZE WOODWORKING
simple devices for inspired living
H i l o , H a w a i i
There is currently no completed works for sale. Contact me for info on forth coming tansu. I am not accepting commissions unless they are of special interest and/or you are currently an owner of my work.
My work appears annually at The Winter Wood Show at Harbor Gallery and their Summer Wood Show.
January and July respectively. If you would like to be updated as to new work please email with your contact info and you will be put on the list. Thank-you for taking the time to consider my work.






%5B1%5D.jpg)
%5B1%5D.jpg)
%5B1%5D.jpg)


